48+ Hour Biga Pizza Dough

Time and temperature, the two key ingredients
Difficulty: Intermediate to Advanced
Time: (active: 1-2 hours/passive: 3+ days)
Yield: ~8x 12 inch pizzas/~5x 14 inch pizzas
Ingredient Cost: <$7
***If you are a visual learner and would like to see this process in video form, check my instagram @pizzaptah for a video showing each step of me making this type of dough!***
———


***2025 Update: While I still use biga occasionally for strength and flavor, I have upgraded all of my pizza and bread baking to sourdough, or natural leavening. More coming soon on this!
Introduction
Few pizza experts would argue that the most important part of pizza is nailing the dough. Bad dough, and it doesn’t matter where your tomatoes came from or how gourmet your toppings are. What many experts would disagree on is the style of dough, the process on how to get there, and the ingredients used and tools needed.
Just like you probably have, I’ve consumed a pizza or two in my day and I’ve also consumed a large amount of information on what makes good pizza. This is my adaptation and distillation of many recipes as well as personal trials, and I believe it achieves what most would agree is some DAMN good pizza made right in a home kitchen. The key here lies entirely in the process.
This recipe utilizes an Italian pre-fermentation technique called biga (bee-ga), which uses time and temperature to allow the yeast a chance to consume more of the carbohydrates (flour) and create protein (gluten) as well as CO2, resulting in a stronger yet lighter, more aromatic, textural, and digestible dough.
The percentages listed below represent dough hydration, a way of determining how much water is in a dough per 1000g of flour. For example, this biga is 50% meaning for 1000g of flour, there is 500g water. The final dough is 63% hydration, or 819g of water and 1300g flour. When baking for consistency, don’t just fool around in the kitchen, measure up! Your results will reward you.
———
***Baker’s Note: In the warmer summer months, you may find that cutting the amount of yeast and/or water used can yield similar results to higher hydration and more yeast in the cooler months. You’ll have to play around to find what’s right for your situation!***
———
Though amazingly delicious, this is not the dough to make if you want pizza later on today. If I start this dough on Sunday, I’m likely not having pizza sooner than Wednesday. Like life itself, this recipe takes a bit of planning and foresight but once those are achieved the sky is the limit for what you can do.
The ingredients I use can be found in both your common or fancy grocery store of choice’s bakery aisle, and refrigerated section for the yeast. In this case, higher quality ingredients will lead to a better final product but if all you had was common all-purpose flour and dry yeast, you would still wind up with a better pizza than you’ve probably had in a while.
As with all recipes these are guidelines rather than strict rules; take it or leave it and feel free to use this as a basis for your own or just learn from the process. Either way, enjoy!
- - -
Ingredients
For 50% biga
-1000g organic tipo 00 Flour
-2.5g fresh yeast (use half as much dry yeast if you don’t have fresh)
-500g lukewarm water
-optional 10g sweetener (honey, sugar, or agave works well)
To make 63% final dough
-All of biga from above, after minimum 48 hour dual-ferment
-319g water
-33g sea salt
-300g organic tipo 00, reserve 100g if kneading by hand
To shape and store
-organic olive oil
-organic semolina flour
Directions
For Biga
In a large open container, add all 00 flour and evenly distribute. Sprinkle dry yeast over top for a little extra oomph if you so desire.
In a bowl, add water and sweetener, mix thoroughly.
Add fresh yeast to water and evenly dissolve.
Slowly, pour water/yeast mixture over flour and shake to mix. No need to use hands, no knead.
Continue to slowly pour and shake until mixture is incorporated. It will be chunky, stringy, and rather unappealing but rest assured, magic is about to happen.
Use scraper to scrape down sides of container and combine into mixture.

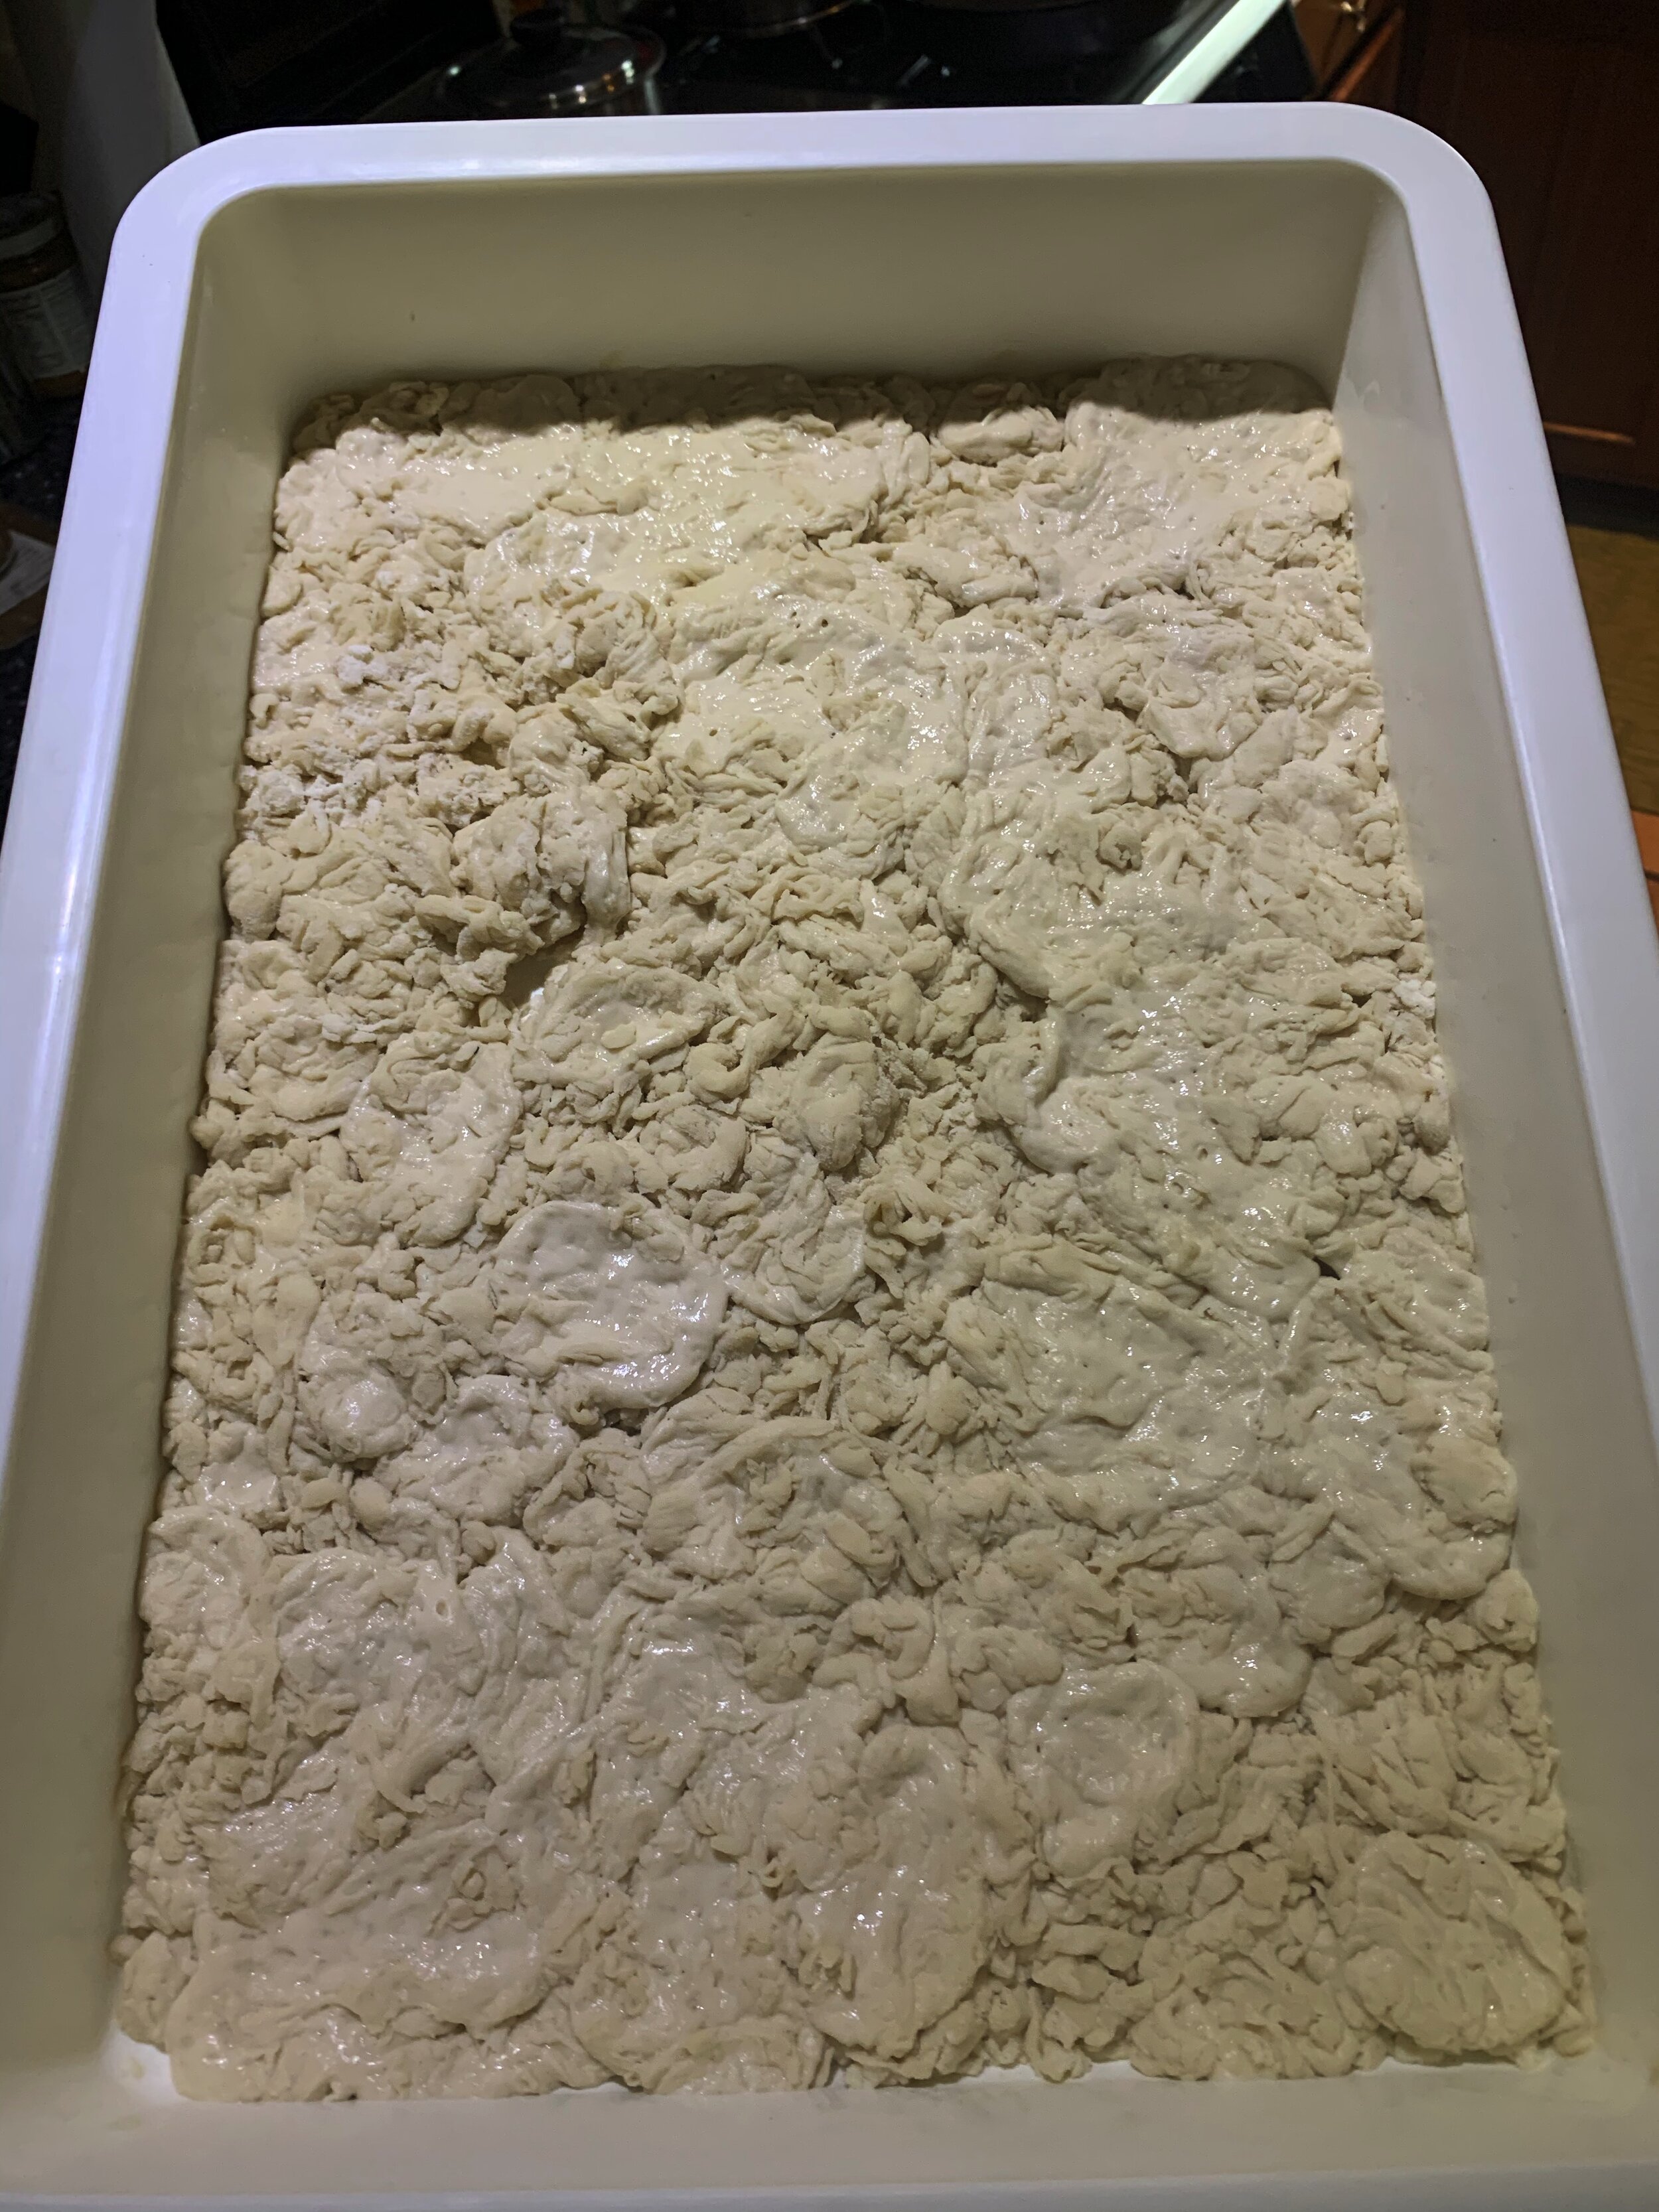
Biga just after gently mixing flour, water, and yeast.
Cover with top and leave at room temp (65 degrees F) for 24 hours.

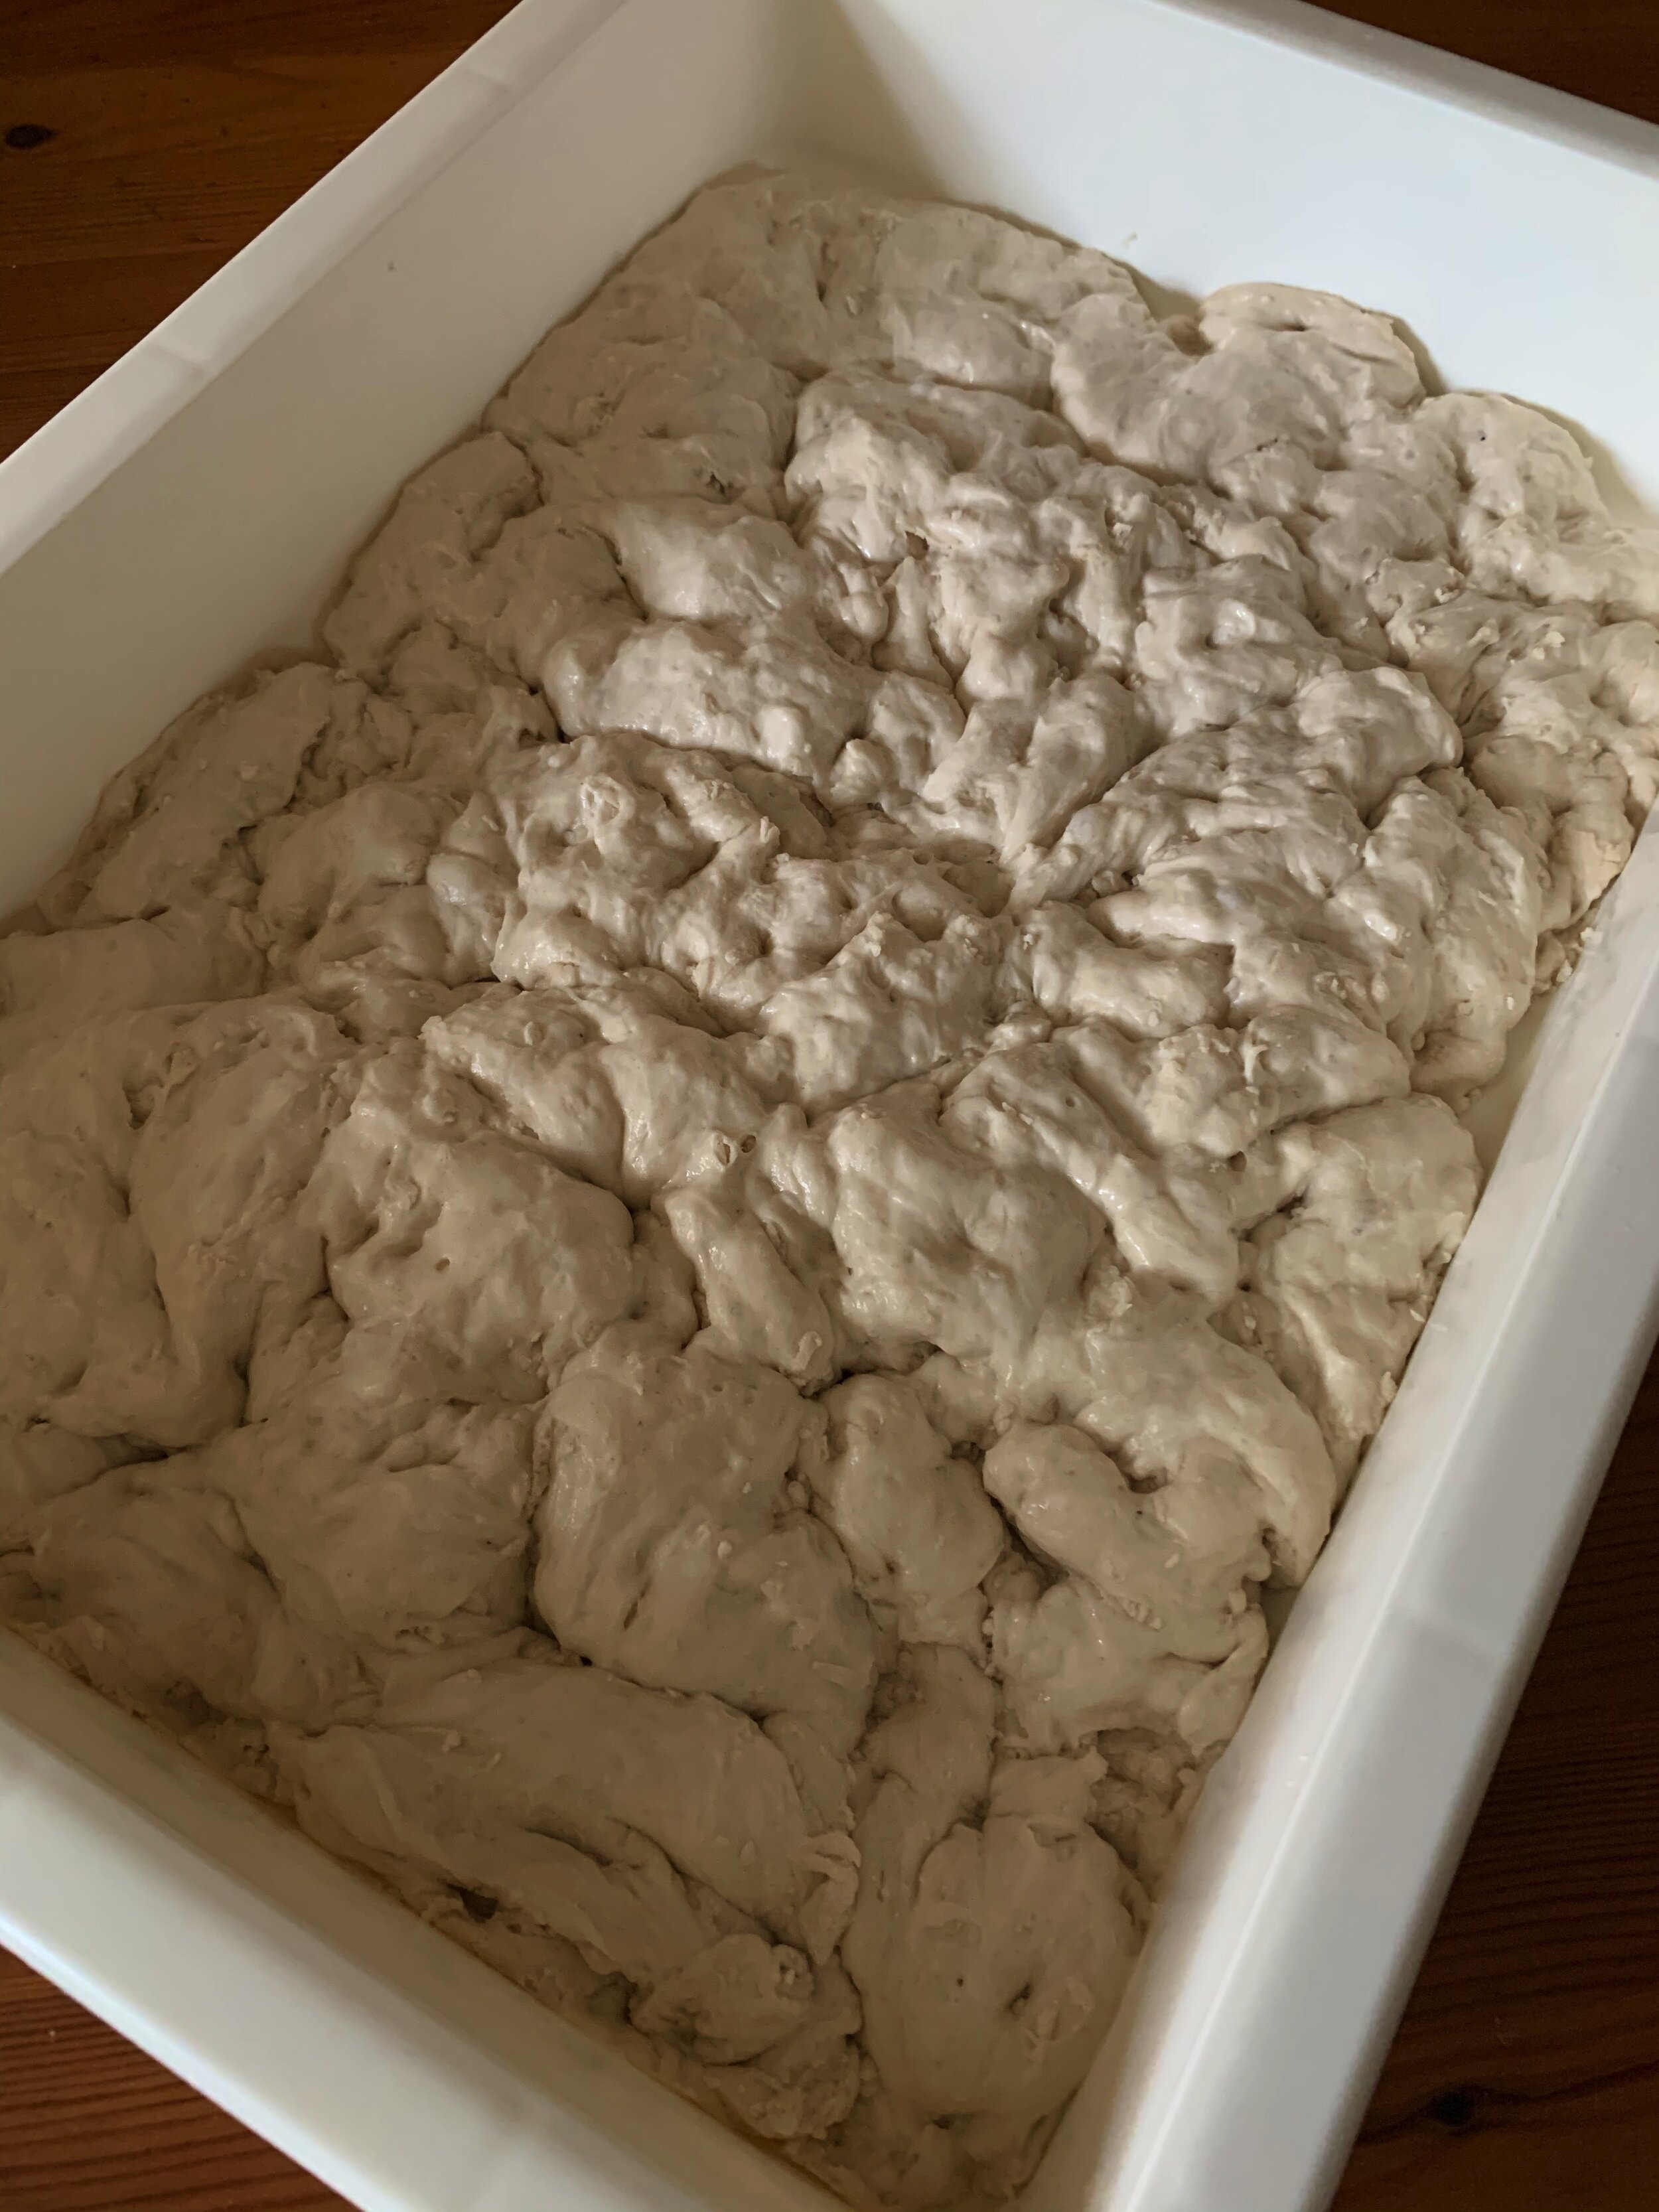
Biga after 24 hour room-temp ferment
After first 24 hours, move mixture into a 39 degree refrigerator.
Leave in for an additional 24 hours.
After 48 total hours, your biga has fermented very nicely and you are ready to make your dough.

Biga after an additional 24 hours in the refrigerator. This allows the fermentation to happen at a slower rate.
For Final Dough
In large bowl, mix 100g of water and all salt until dissolved.
Start tearing pieces of the biga into the bowl and mix with hands. Eventually add all biga and all water. Mix with hands for 15-20 minutes thoroughly.
Mixture will feel very clumpy, sticky and rather strange, but rest assured, magic is about to happen.
Slowly add all remaining flour (save 100g if hand kneading) until fully incorporated. Work with hands for 5 minutes to have the mixture get to know itself.
If you have a stand mixer, add dough into bowl and use the dough hook on the first setting for 20 minutes. Check occasionally to test strength and bounce.
If you are an OG and are using your hands, add saved flour onto floured work surface and work with hands using push and fold kneading technique*. Work for 20 minutes and test for strength and bounce.
At this point, we will let our dough bulk ferment in a covered bowl in the fridge for 6-12 hours.

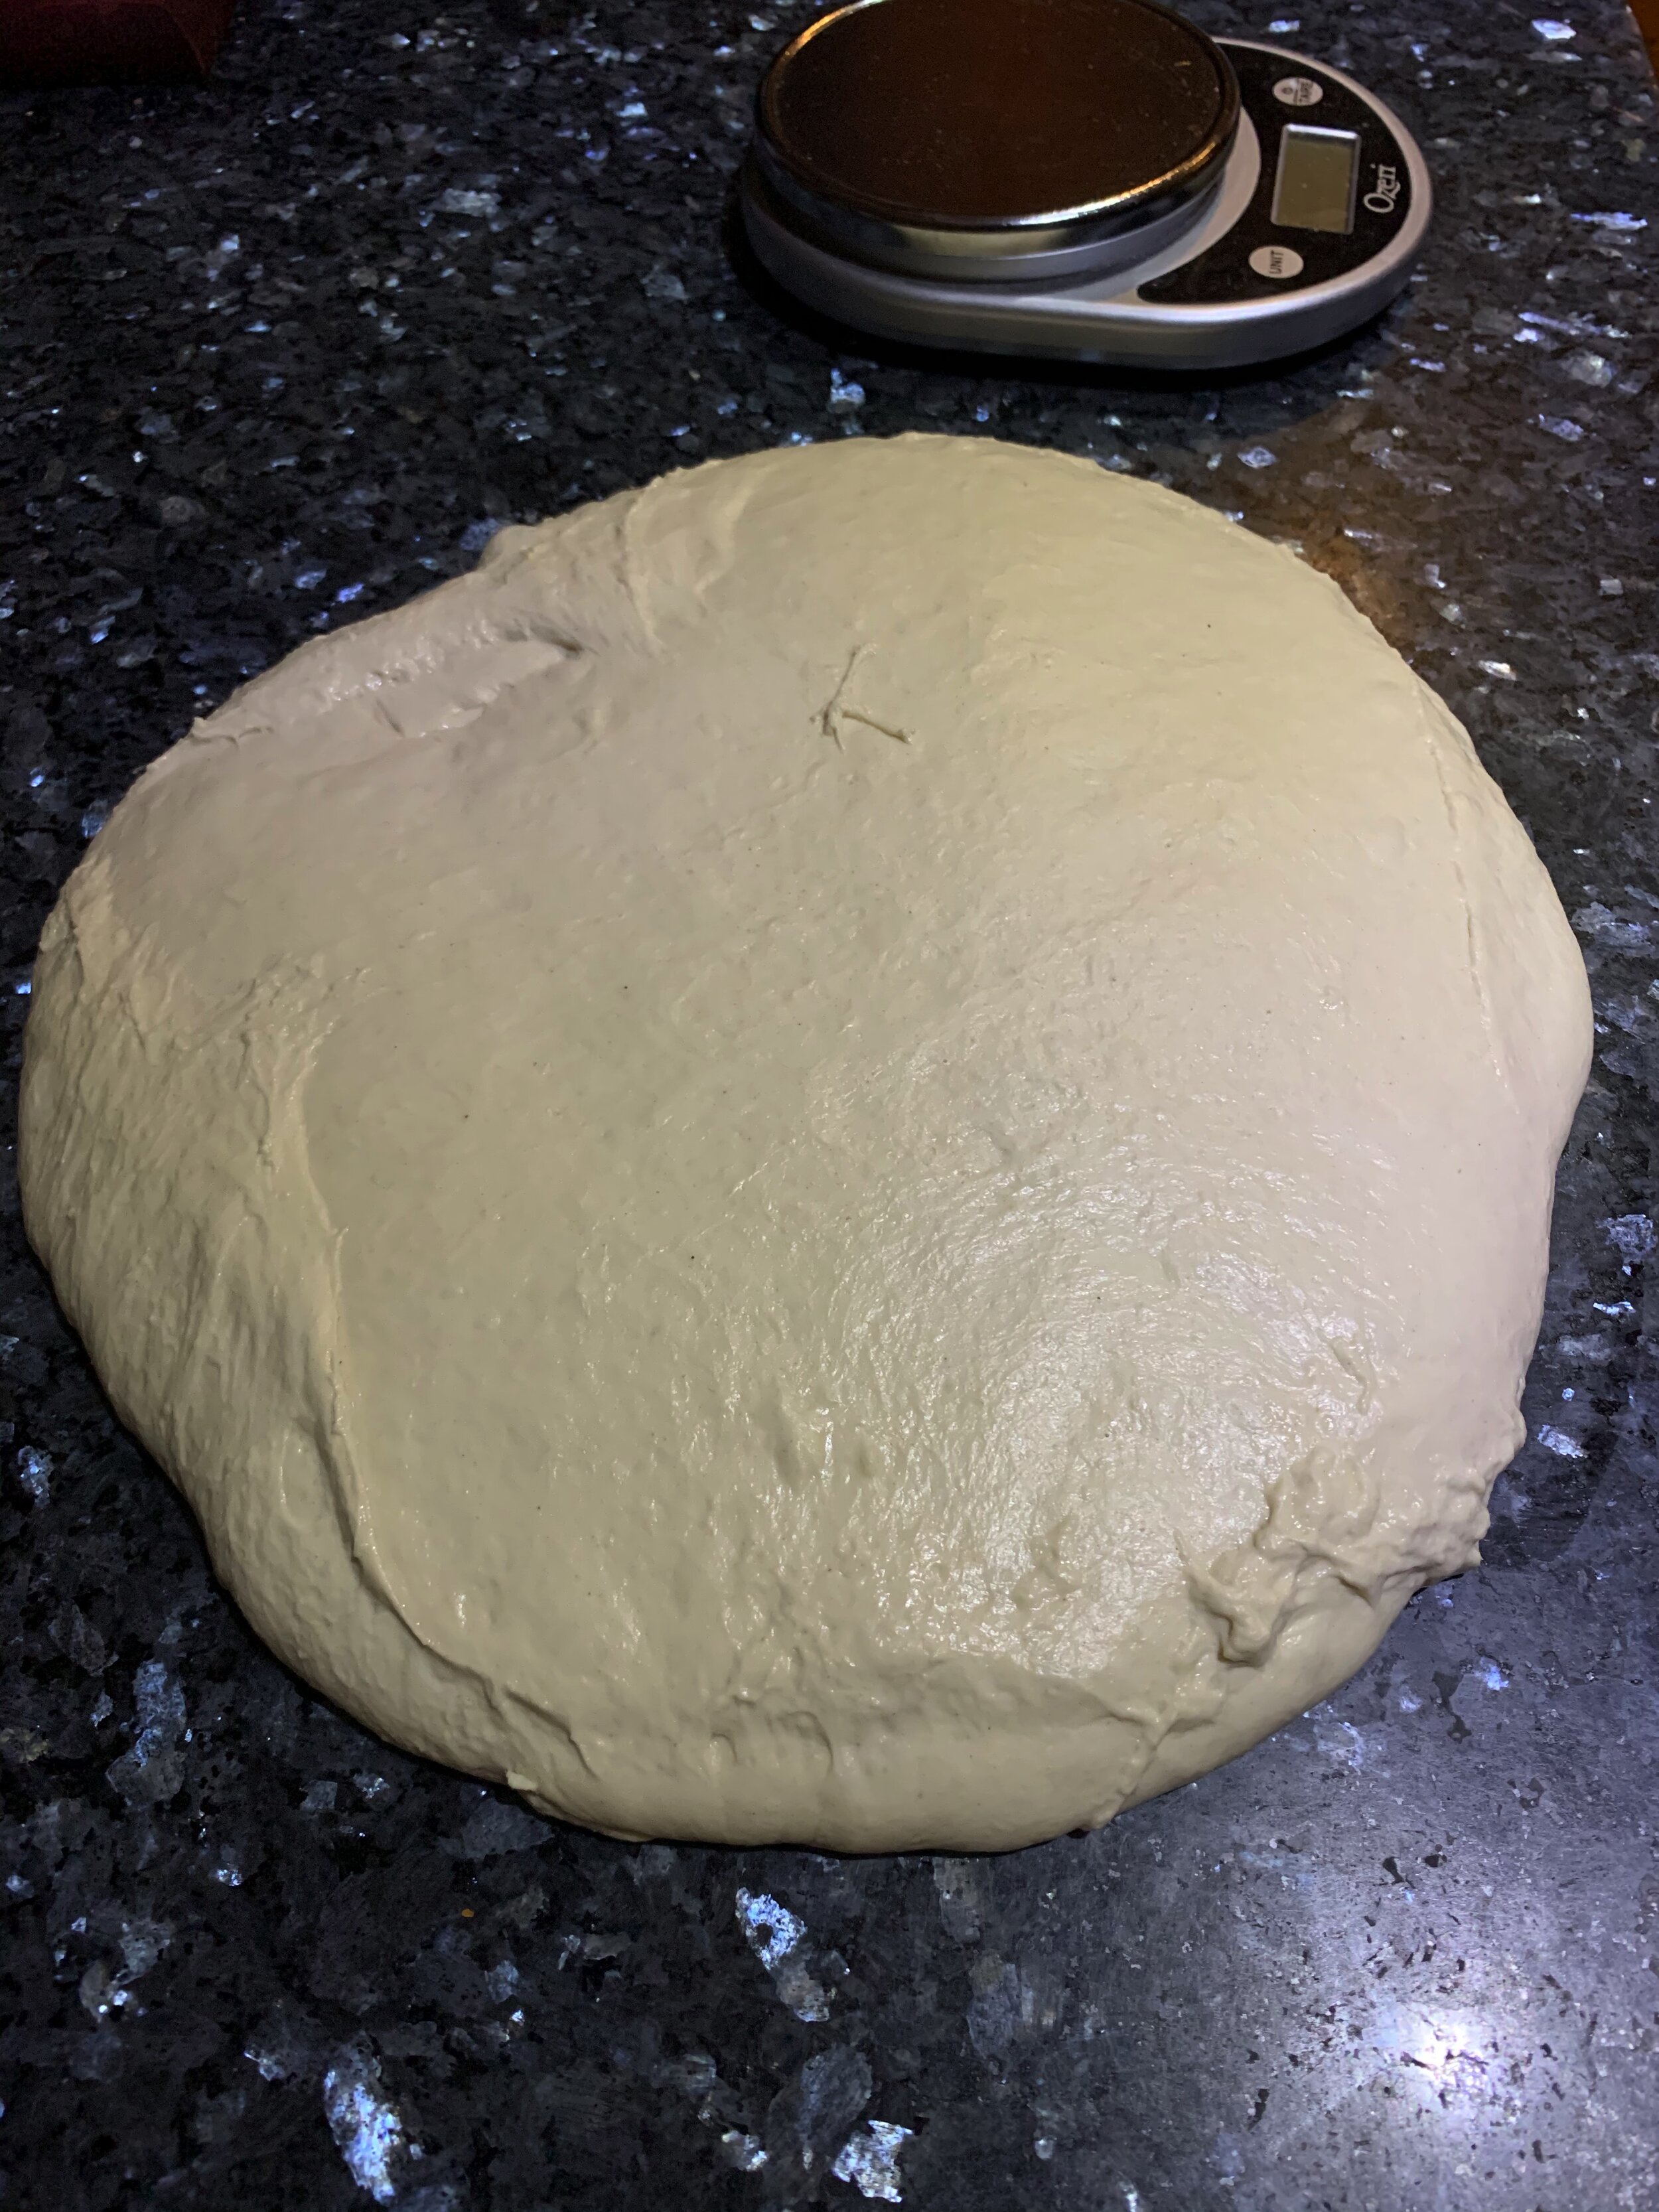
Mixed dough ready to bulk ferment
After bulk-ferment, dump dough onto moderately olive oiled surface and shape and fold using stretch and fold/ balloon technique*. Form into a large round ball. Lightly oil top, cover with a damp cloth or plastic wrap and let rest for 30 minutes.
—
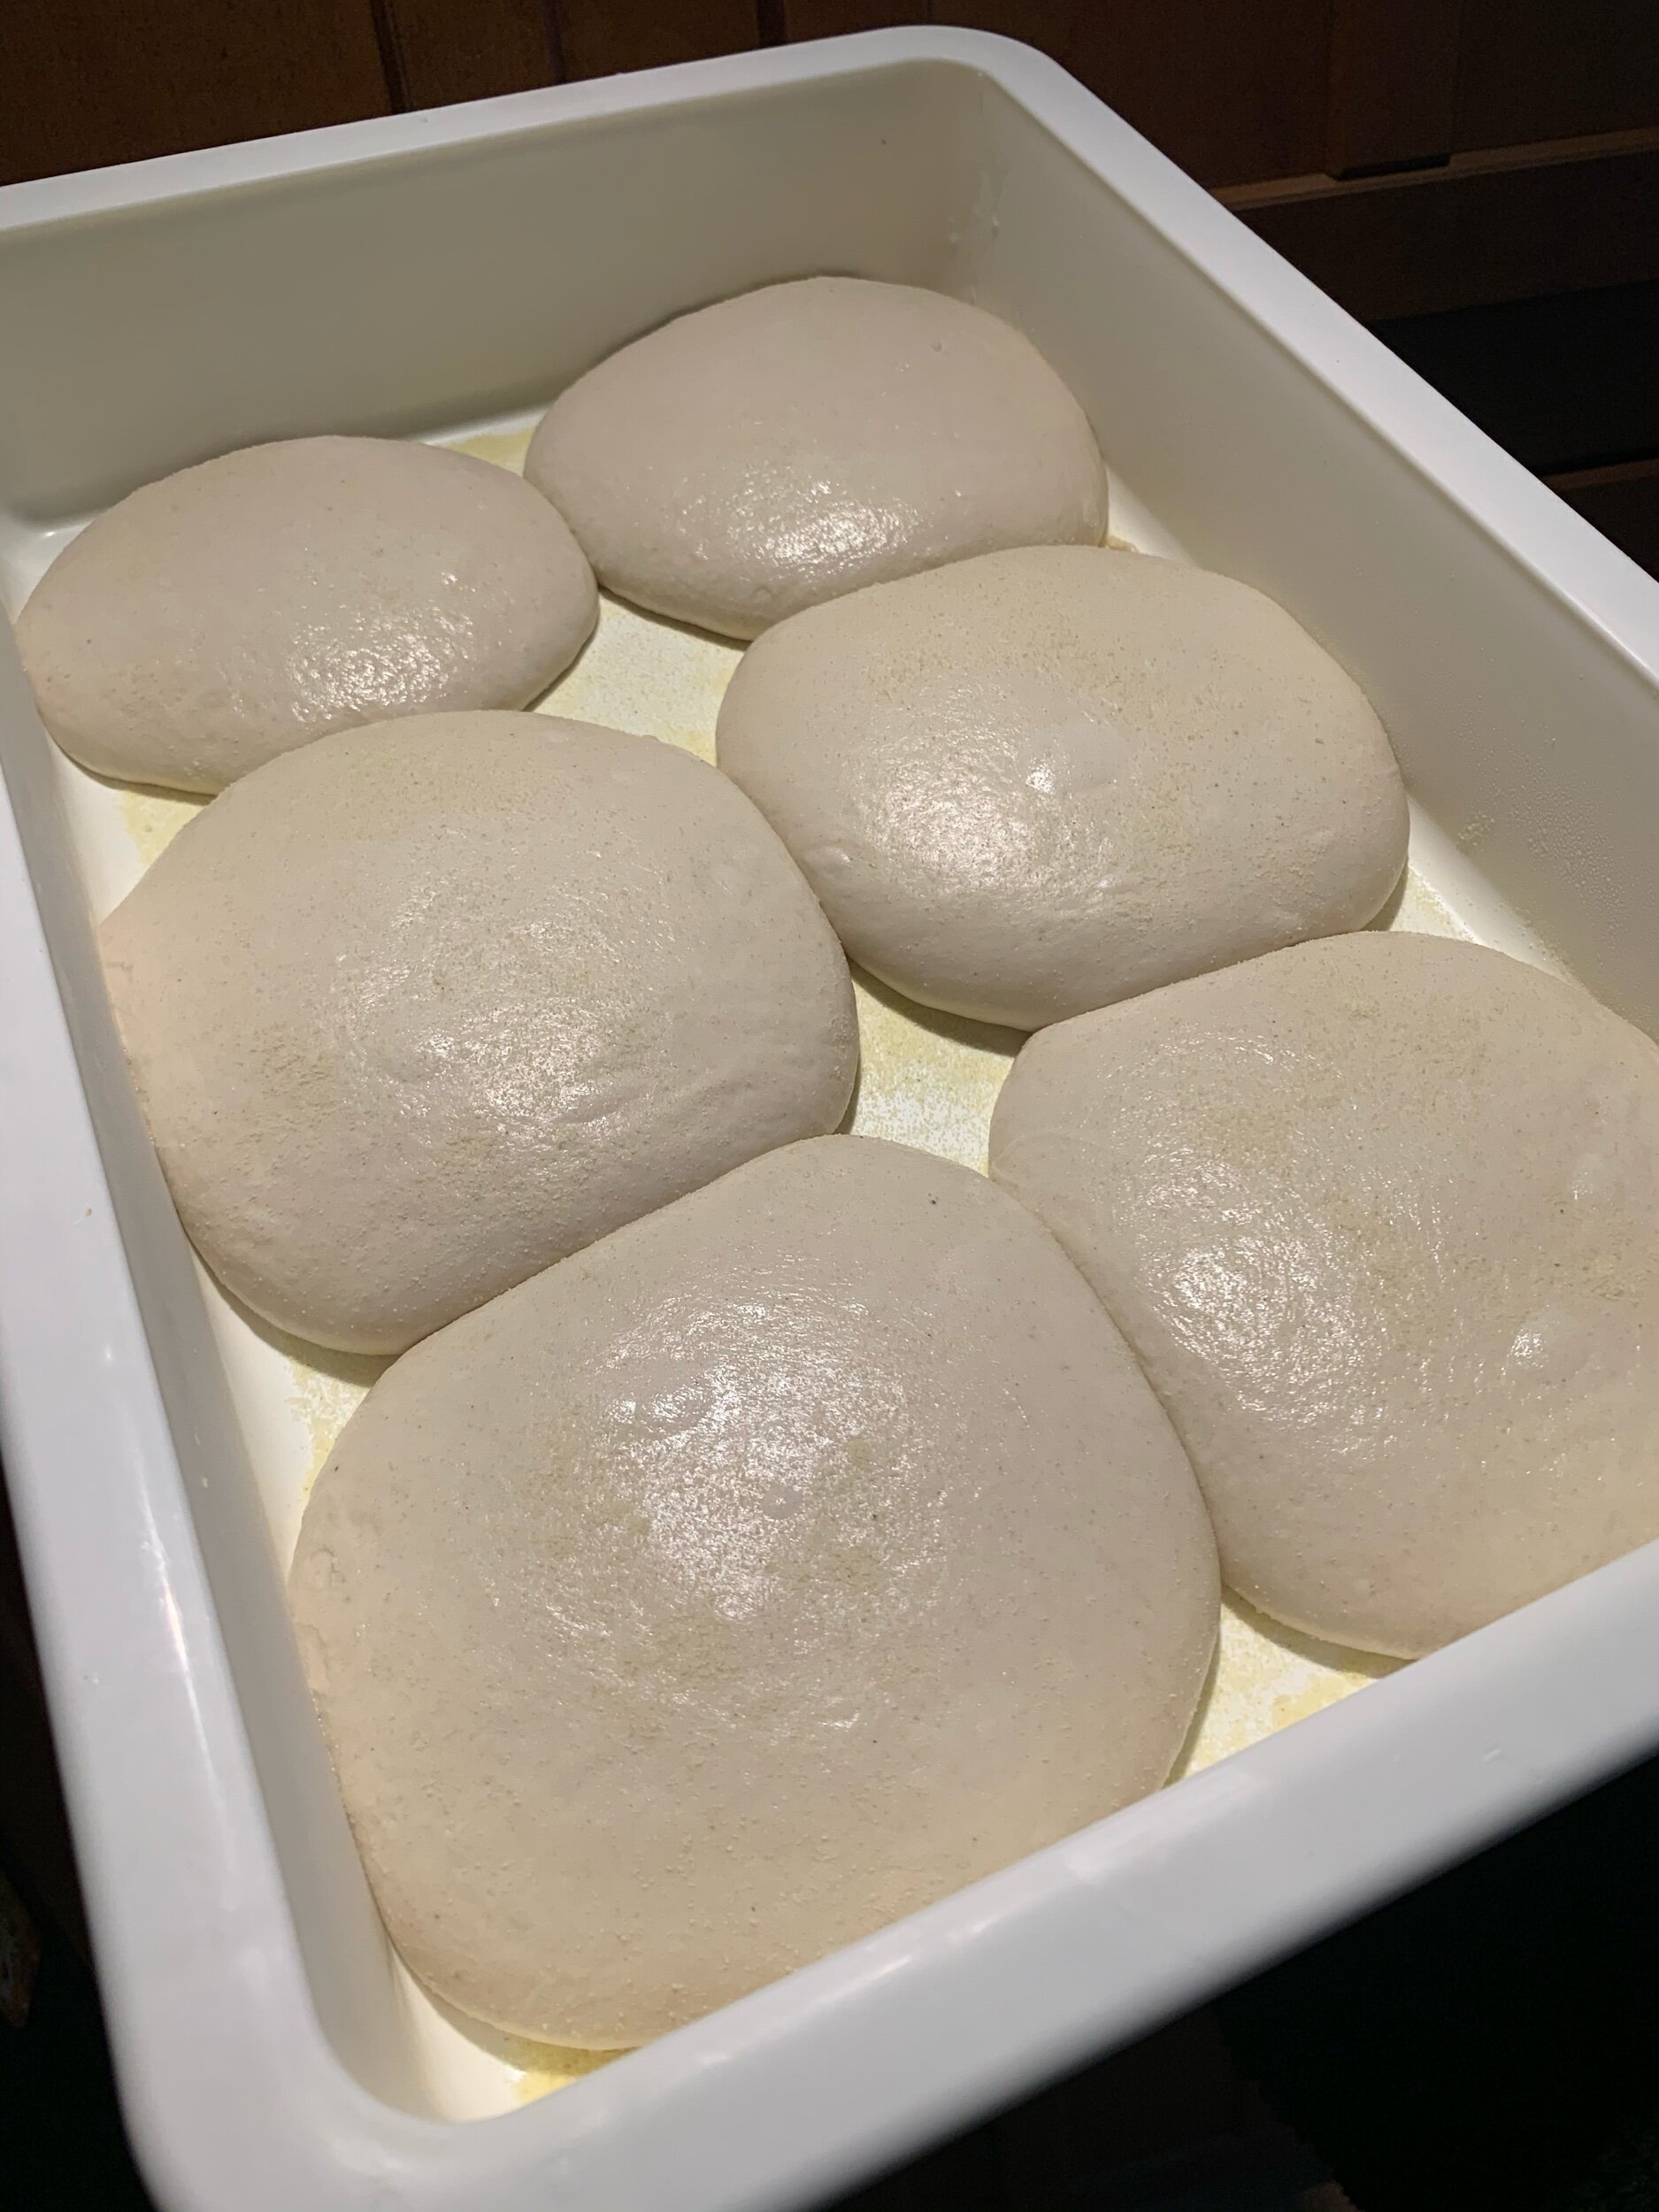
After this, it’s time to weigh and shape the dough into balls.

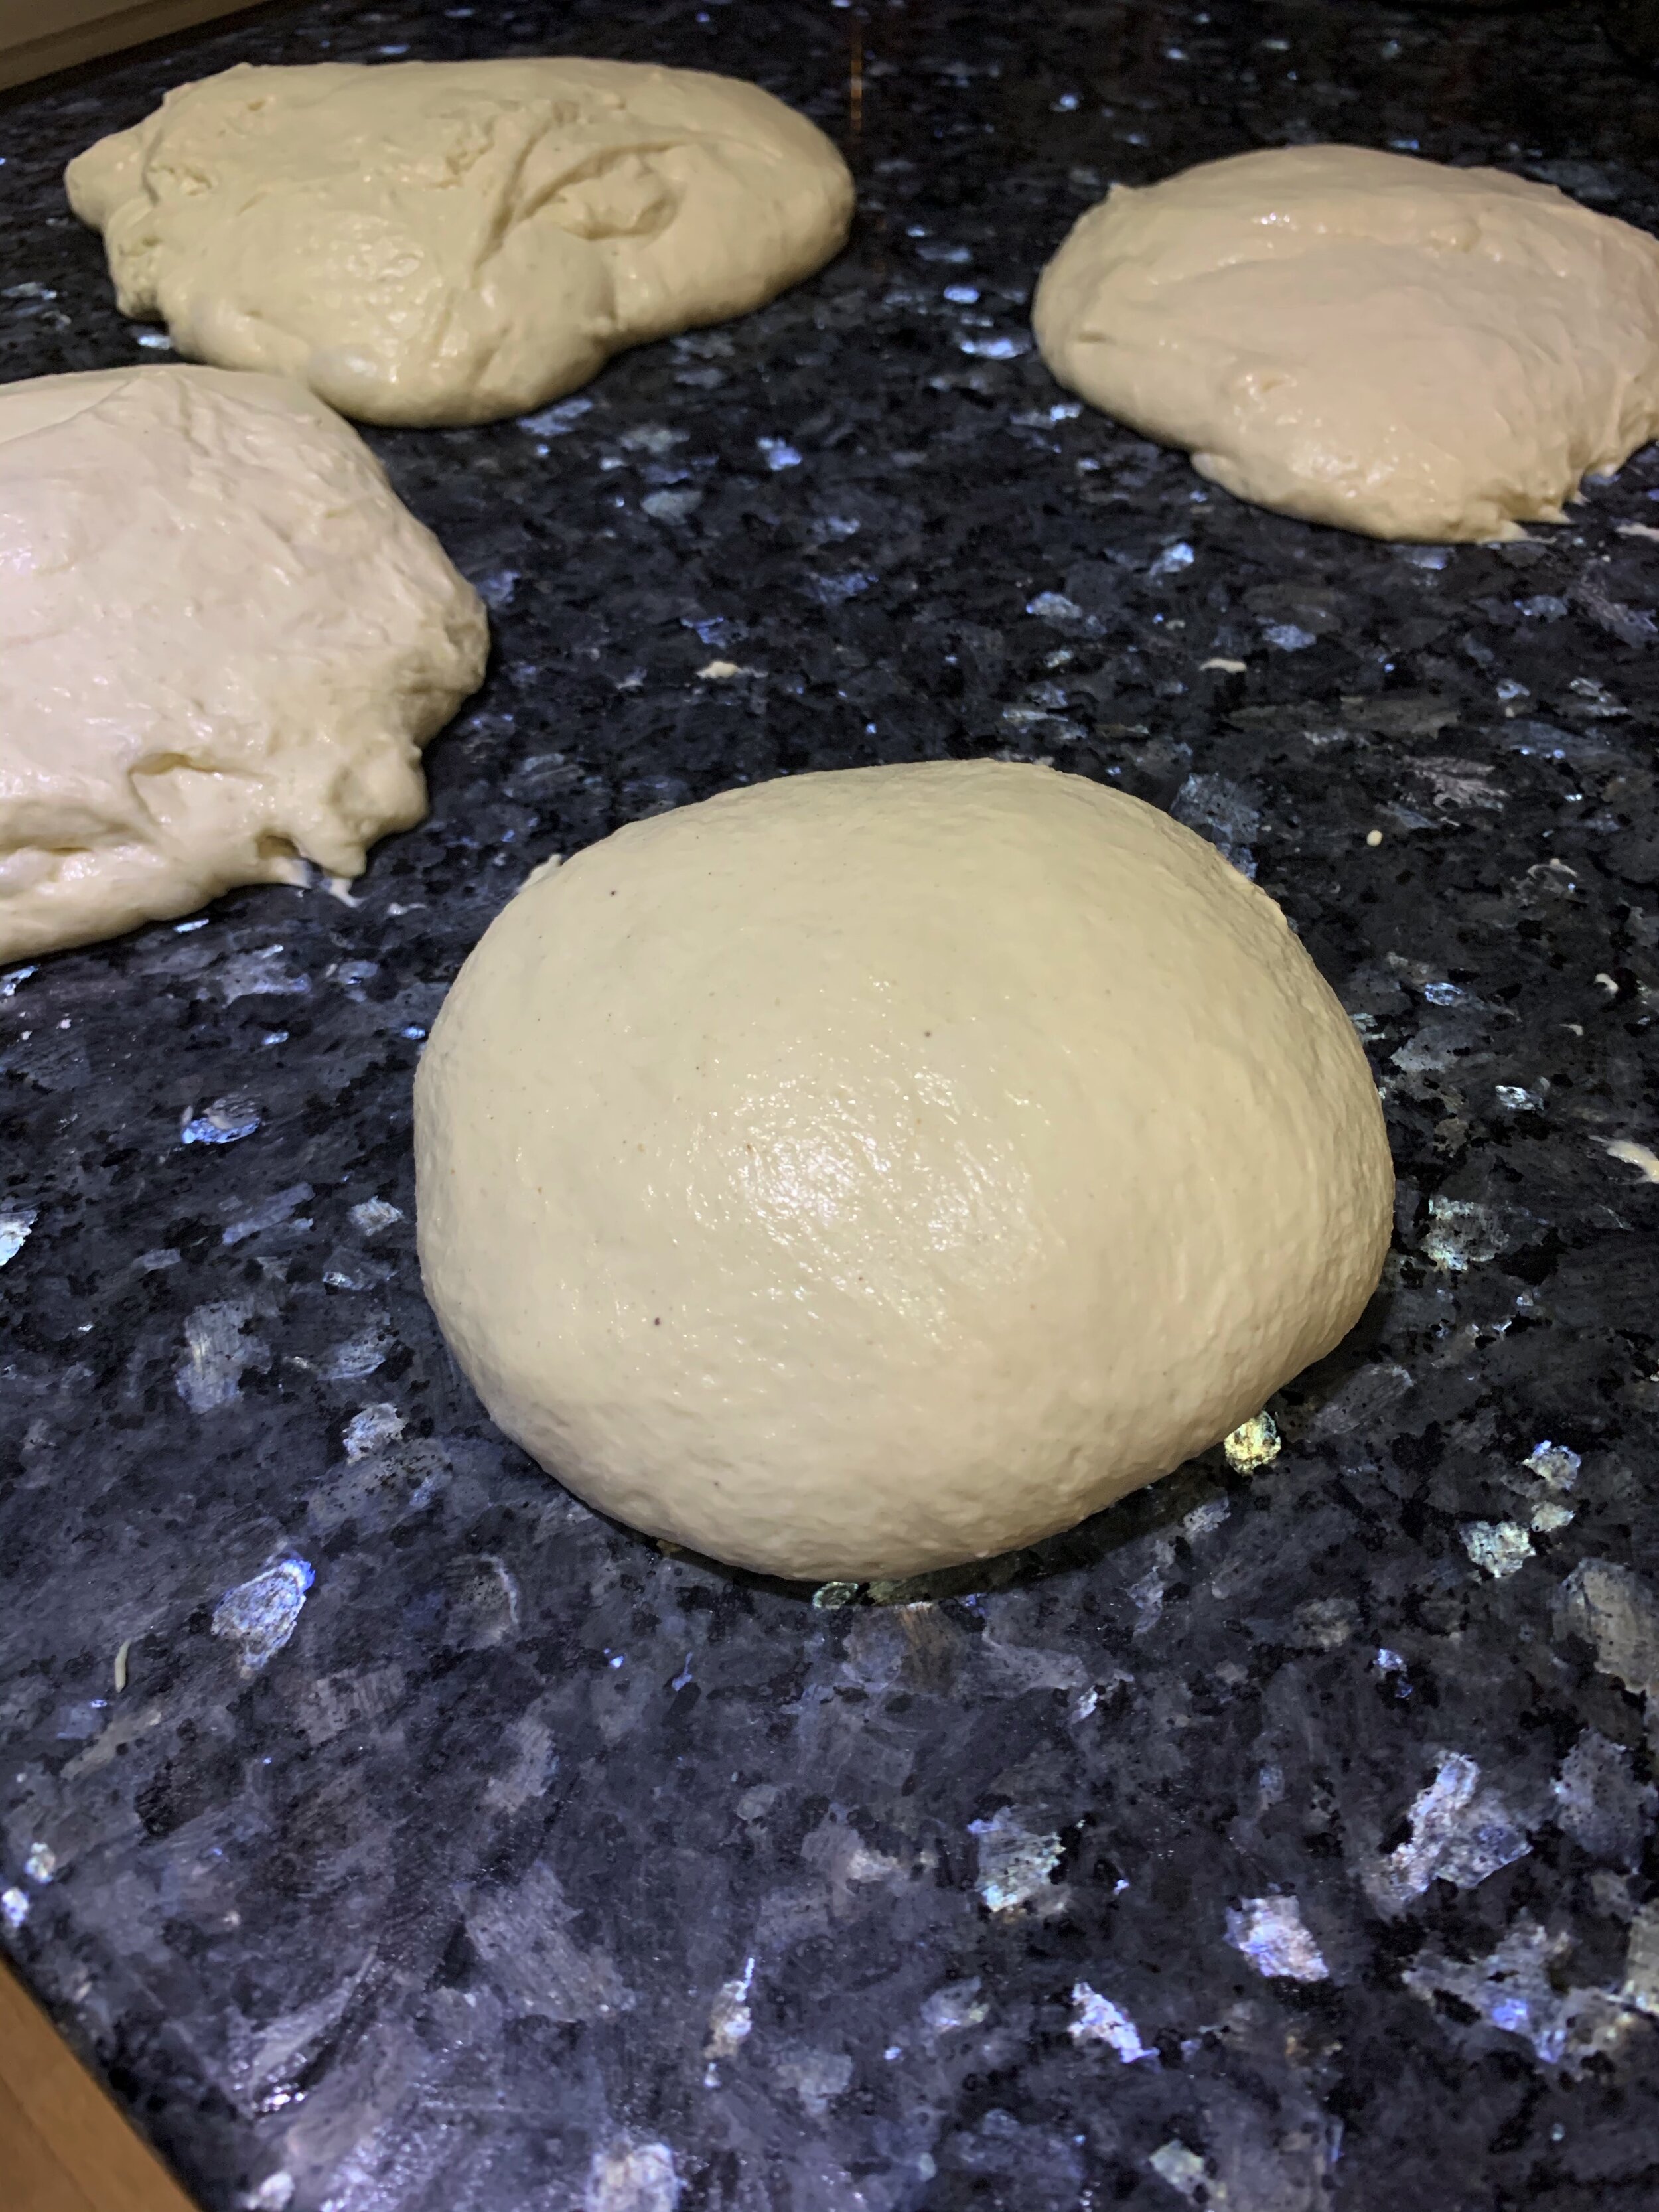
Weighed out dough balls
Using a scale, divide and measure dough into 250-280g for 12” pie or 385-420g for 14” pie. Or just shape into sizes that you feel are right.
Shape into round, tight balls by using either the palm or pinch techniques* and place into a dough box with a light dusting of semolina flour, or lightly oiled round Tupperware, preferably glass. Dough should rest for minimum of 6 hours before use, but ideally overnight in a refrigerator for a further refined texture and flavor. Dough will keep nicely in fridge for 5-7 days and continue to develop. Consider storing and freezing if for some reason you don’t want too much pizza.
When ready to use, remove from refrigerator a minimum 1 hour before usage to proof at room temp.

Proofed dough ready to stretch!
Dough will be soft yet strong and ready to shape and bake.
—
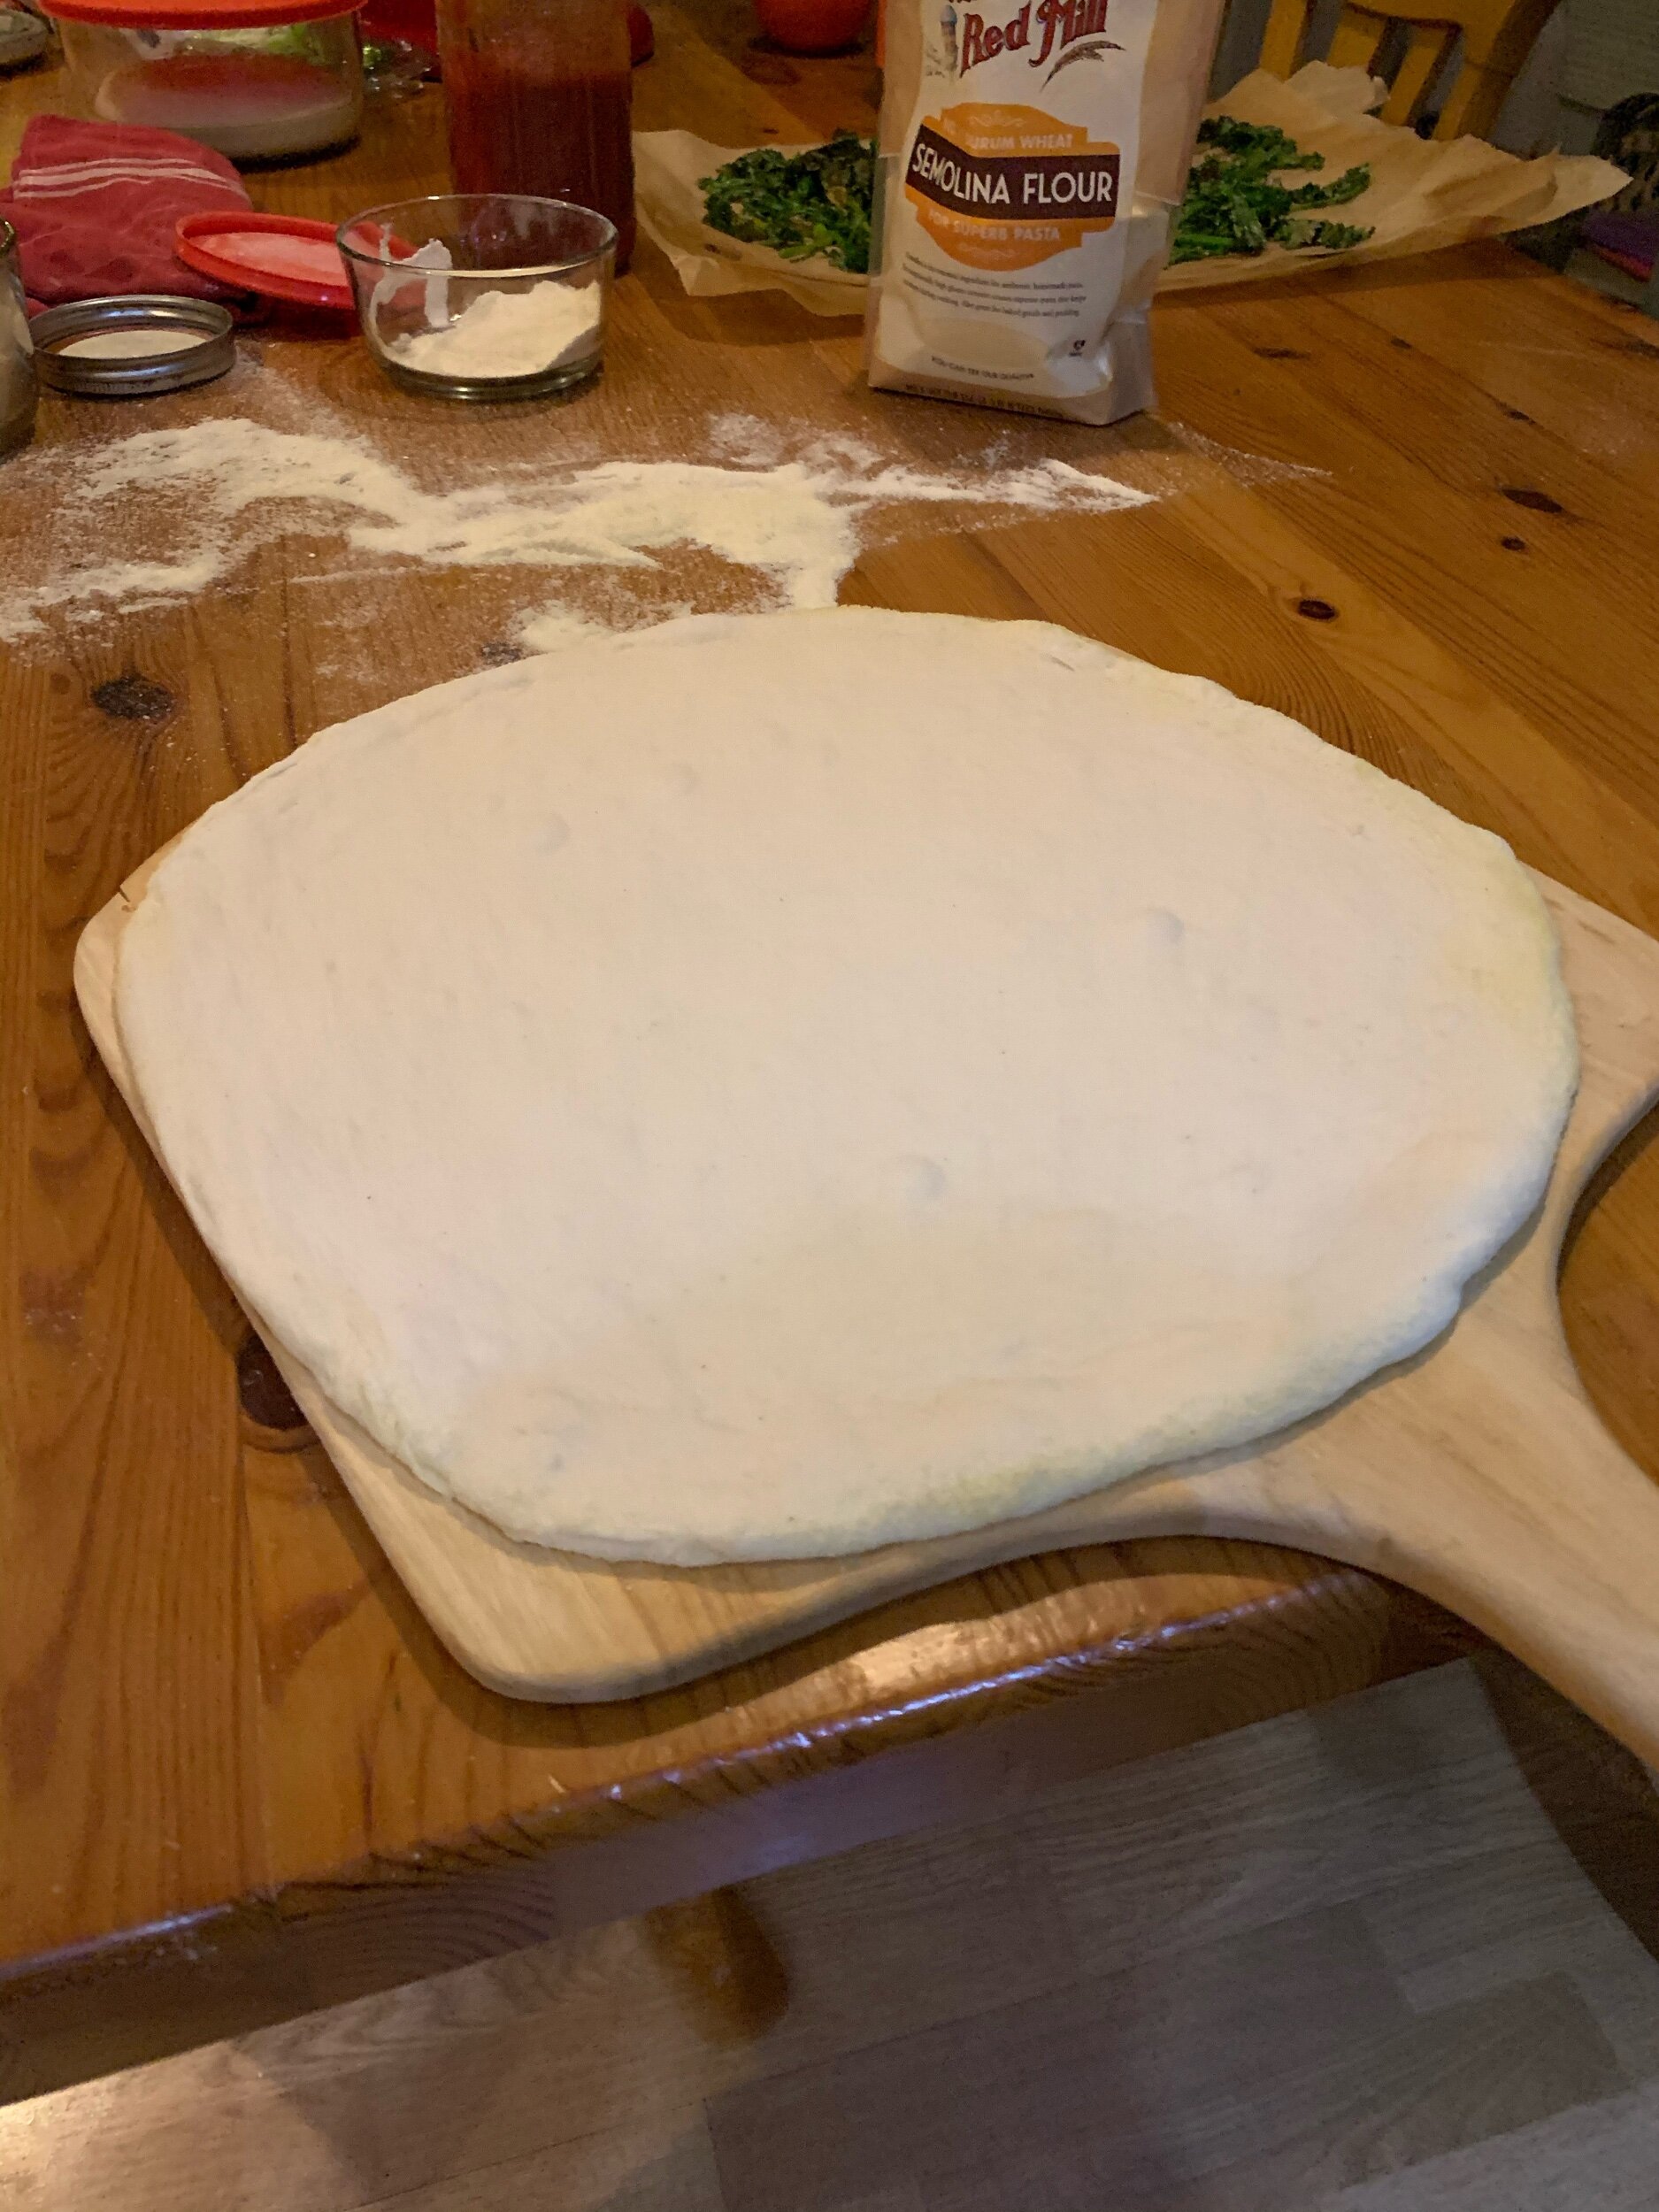
To shape, gently place dough onto a small pile of semolina and flip onto both sides to coat. Gently push out from the center stretching the dough into a disc shape.
Push the air towards the crust and flip onto underside and repeat.
Flip back onto the top, remove excess semolina from table, and stretch either using slap and pull technique*, knuckles around technique*, pie in the sky technique*, or whatever gets it nice and evenly shaped.
I top my pizza on a wooden peel lightly dusted with semolina and always do a slide check* before placing it oven. You will likely have to learn the hard way at least once.

Stretched and ready to top and bake
For best baking results in a conventional oven, bake on a Lodge cast iron 14” round griddle and preheat to max temp (likely 550F) for a minimum 1 hour.
Bake until dough has risen and has nice color. You’ll know when.
You are about to enjoy some of the most flavorful, textural crust you’ve ever had anywhere!
-PizzaPtah
***If you are a visual learner and would like to see this process in video form, check my instagram @pizzaptah for a video showing each step of me making this type of dough!***
—————-
*Starred Terms
*Push and fold is the classic way of kneading bread doughs by hand on a floured work surface. You push the dough out, then fold it back in on itself.
*Balloon technique is a way of smoothing and aerating the dough before or after it has bulk fermented.
*Palm technique uses the friction of your work surface and lightly oiled or floured palm to shape dough into balls.
*Pinch technique involves pinching a large portion of dough and shaping into a ball, akin to how fresh mozzarella is made.
*Slap and pull is the traditional way of stretching a Neapolitan pizza, by slapping the dough on the work surface then pulling it out.
*Knuckles around technique is what you’ve likely seen at your local pizza joint. Highly effective and relatively easy.
*Everyone knows what pie in the sky technique is. I don’t advise this, especially if you’re starting out. But, YOLO.
*If you don’t do a slide check, you may end up with a stromboli instead of a pizza. Trust me.